One of my hobbies is Radio Control Models, and for that, I often need a high current 12V or 24V power supply for the battery chargers I use.
There is a ready source of various HPE server PSUs that are ideal, and plenty of guides on the net for converting them. However, for the ones I had (HPE gen8 common slot, part numbers HSTNS-PL28 (460w) and HSTNS-PD29 (750w)) , these guides did not work. Hence this guide.
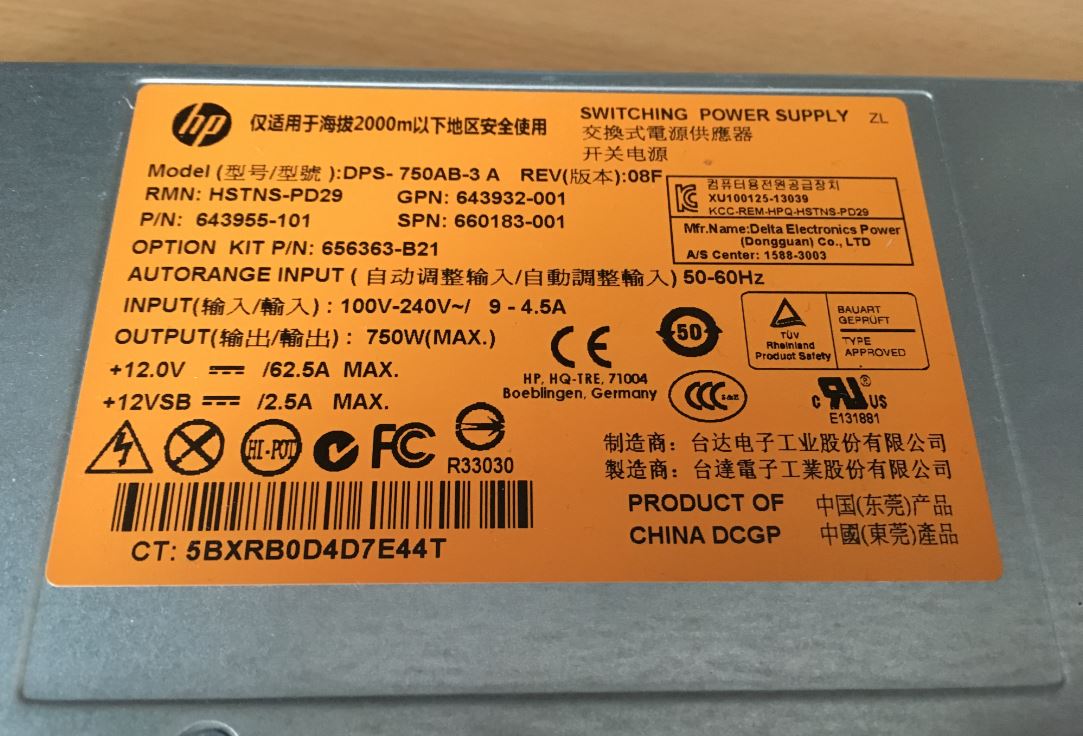
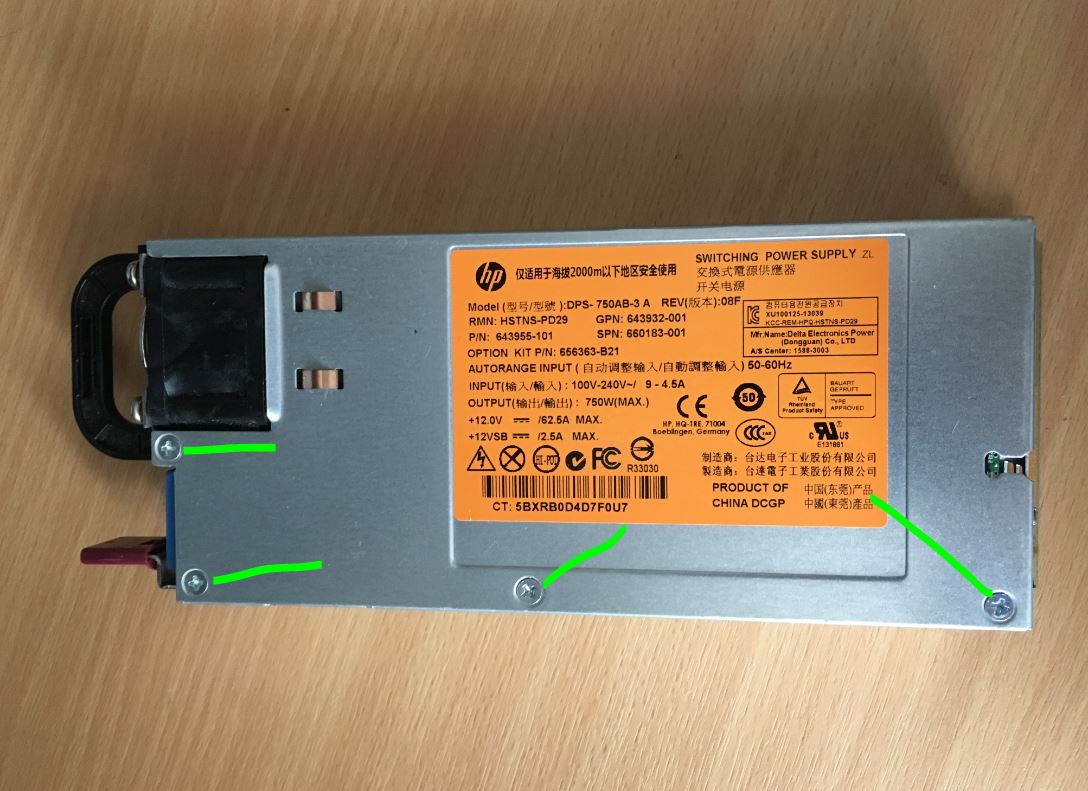
So this is the PSU we are using for this guide:
First you need to add a link wire between pin 33 and the large GND pad, and also a resistor between pins 36 and 37 as show in this image:

The resistor needs to be around the 3k mark, but not absolutely critical. Note the use of heatshrink over it to prevent any shorts.
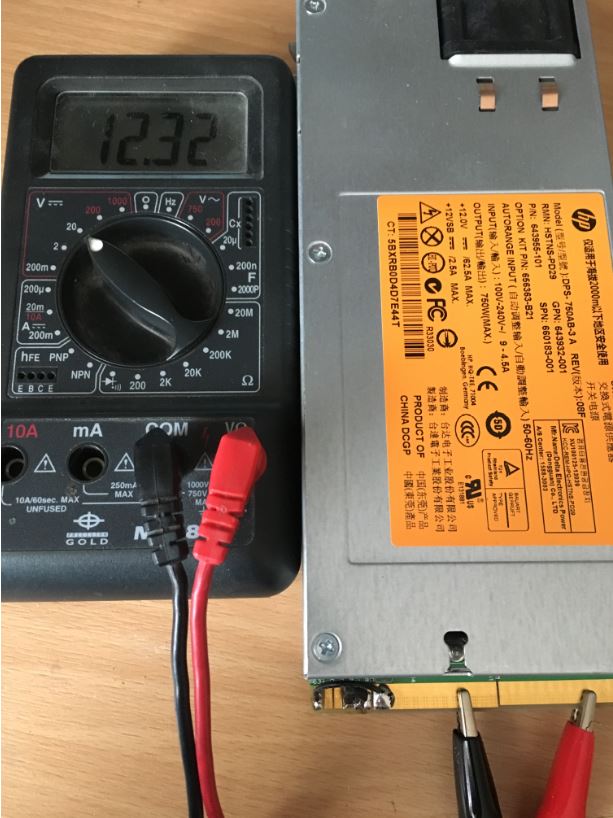
Power on the PSU, and the green LED near the fan should come on within a second, and once this is lit, 12V is available on the larger pads:
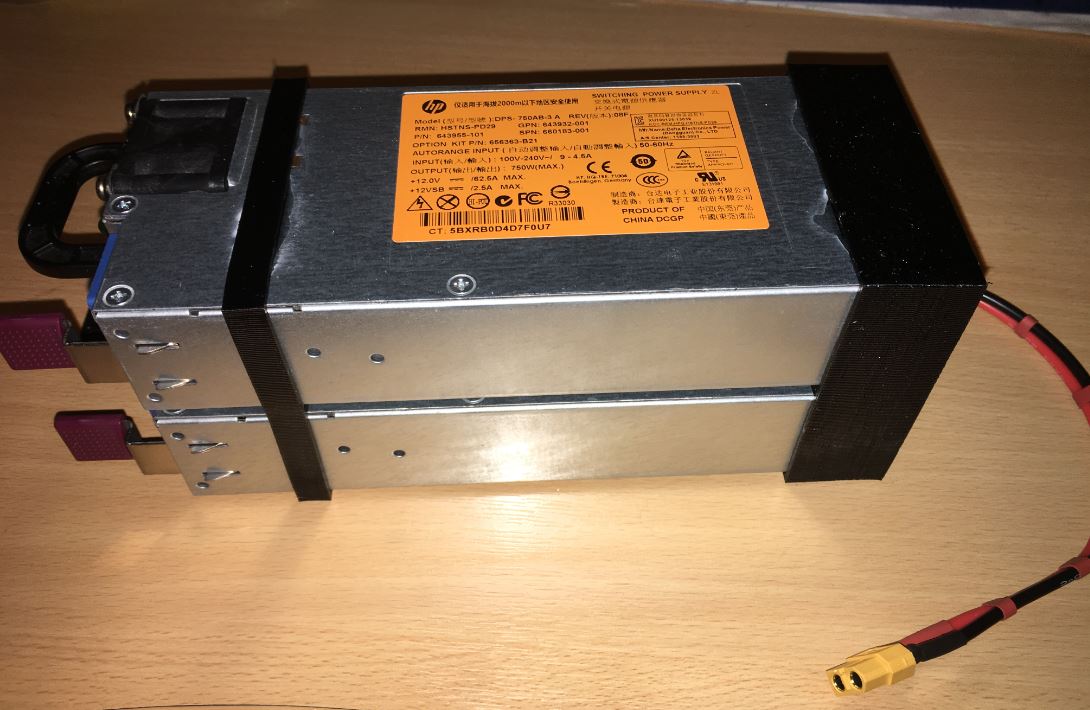
The wires to the charger can go from these pads, and a cover printed as per the one I uploaded to Thingiverse – https://www.thingiverse.com/thing:3116013
24V Conversion.
Caution, there are lethal voltages inside these PSUs, so before dismantling, disconnect from the mains, and leave overnight for internal components to discharge. Only attempt this procedure if you are competent and confident of what you are doing, and read all the instructions to understand them first. Incorrect connections can be lethal. I take no responsibility under any circumstance.
We need 2 supplies modified as above. However, as the case is connected to the 0V and Earth, on the second one, we need to disconnect the connection between the case and the 0V (and keep earth in place, for safety reasons, obviously! Beware, I’ve seen guides for other PSUs disconnect Earth, which could potentially be lethal).
So on the PSU destined to be the 12v-24v step up, follow this procedure.
Undo the top 4 screws:
Remove the 4 fan screws, and push the LED back in towards the case:
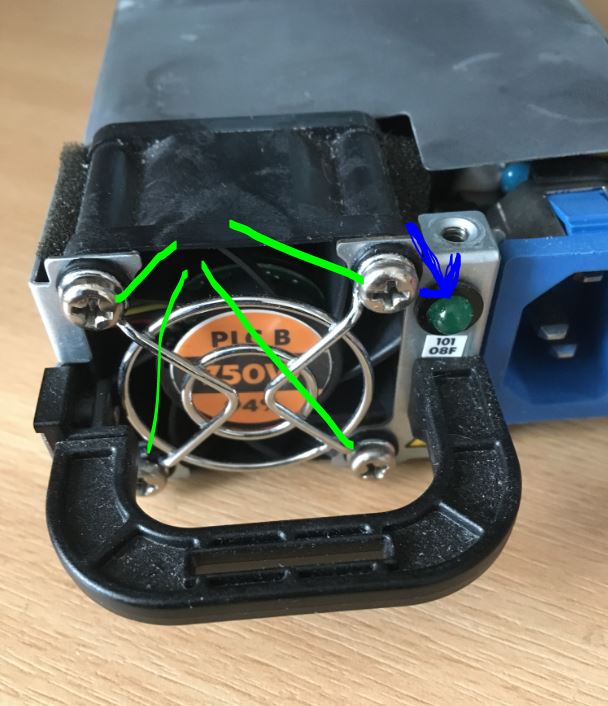
Undo the earth tag
There is a screw just to right of power socket in image above that is not photgraphable, but its location can be ascertained from the pressed in nuts on underside of case. Remove this screw (there is just room for screwdriver to right of power socket, else move power socket which should be free now.
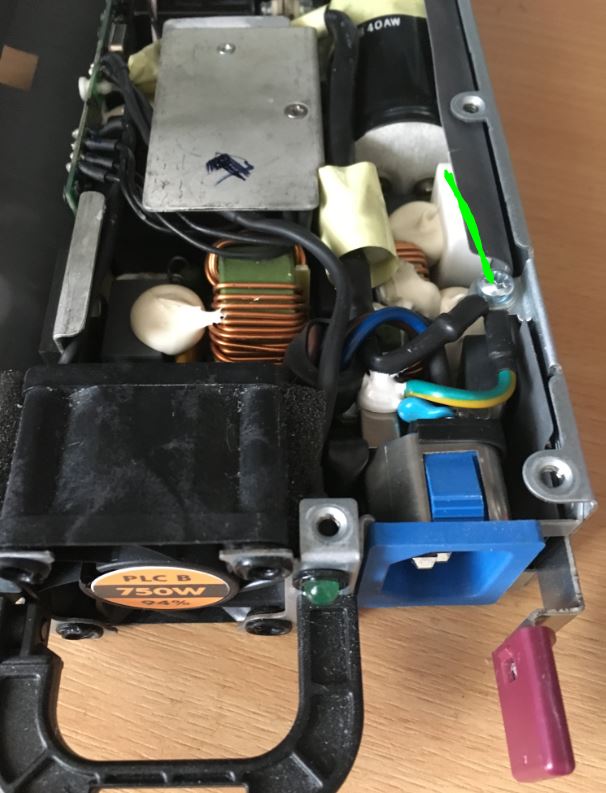
There is a small tab that needs gently lifting behind the fan, seen clearer on this dismantled picture:

Keep the plastic bit that fits over the tab safe ready for refit.
Near the edge connector are 2 screws (that screw into the studs we are going to grind down later), which need removing.
With a bit of a wiggle – the power socket can be stuck in quite hard, you should be able to remove the PSU from the rest of the case.
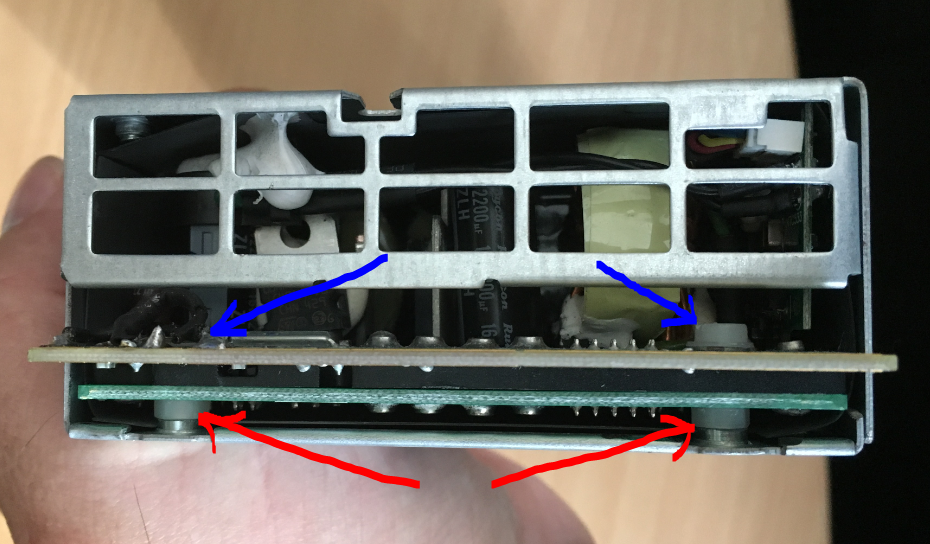
The plan now is to modify the mounts to electrically isolate them from the 0v of the PSU board. These mounts make contact with the PCB.

My method is to grind them down to about 1mm high (hopefully just enough to still be able to have enough screw thread left in the pressed nut), place some plastic M3 nuts between them and the PCB, and use plastic M3 screws. I’m sure there are plenty of other options, but the key is that the 0v on the PCB must not make contact with the PSU case any more. The red arrows are when the M3 plastic nuts are, and blue showing the M3 plastic screws (I also had to use a plastic washer here). These screw into the existing threads that were partially ground down earlier.
Rebuild is reverse of strip down. The small plastic piece that goes over the lug also secures the PCB, so ensure PCB fits in the slot on rebuild.
After rebuild, with a meter, ensure that the mains earth is connected to the PSU case, and that the 0V is not.
Run a cable from the 12V of the 0-12V PSU to the “0V” of the 12-24V PSU. 24V is now available via the 0V of the 12V PSU and the 12V of the 12-24V PSU.
Voila!

And fully built using some 3D printed parts to cover the back and hold them together (parts uploaded to Thingiverse – https://www.thingiverse.com/thing:3116013 )